-
STAR SEAL OF OHIO
Ohio’s Most Trusted Sealcoatings, Additives and Pavement Protection Products!
WE SHIP LOCAL & WORLDWIDE!
Call 614-870-1590
ABOUT US
We’re committed to the craft of manufacturing the highest quality sealcoatings and strive to serve you with honesty, quality, and value. Star Seal of Ohio’s goal is to provide our customers with superior products, exceptional technical expertise, and a wealth of manufacturing and application experience. We approach each customer individually and carefully listen to and address their needs and we firmly believe that you’ll see the difference when you choose our company and our products.
-
EQUIPMENT FINANCING AVAILABLE
We are pleased to offer equipment financing options that ease the burden of paying higher rates during seasons your business is inoperable due to weather. To enroll for credit terms through our preferred partner, please click below.
PRODUCTS • SUPPLIES • TOOLS • EQUIPMENT
SERVICES • MECHANICAL REPAIRS • FABRICATION
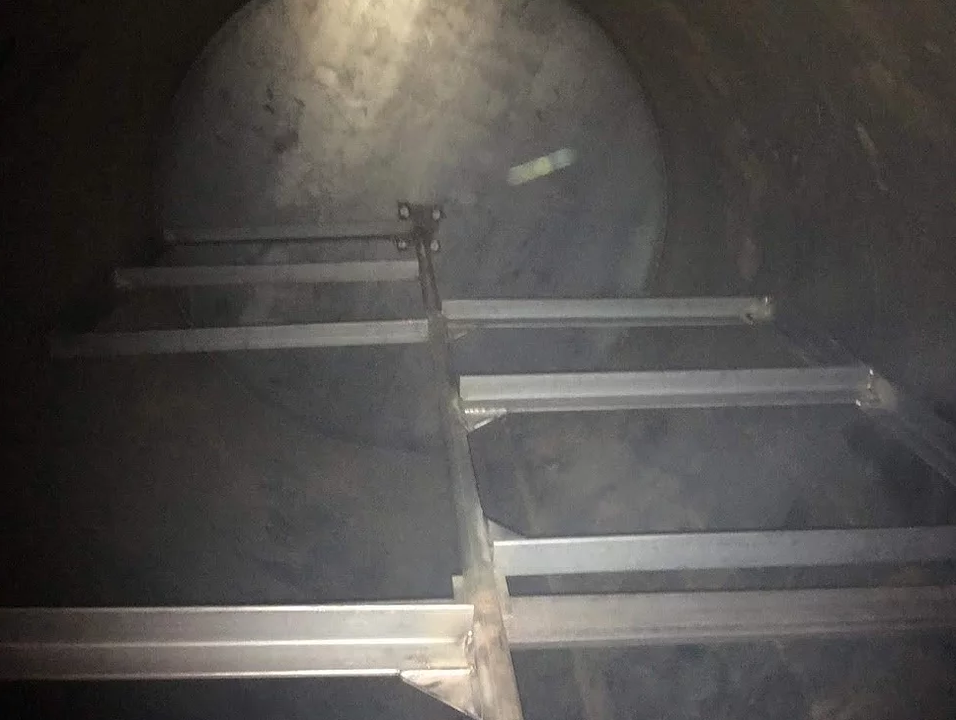
Tank Cleaning Fee – $125 for first two (2) hours. $75 per hour thereafter.
Many sealcoaters loath the thought of tank diving after a long, hot and exhausting season. We get it!
Star Seal of Ohio offers this service to the public so you don't have to deal with the burden.
This service includes chipping residue from inside the tank, cleaning lids/hatch, clearing the dispensing valves and hoses. A complete anti-freeze flush and winterizing of pump, hoses, spray wands and baskets.
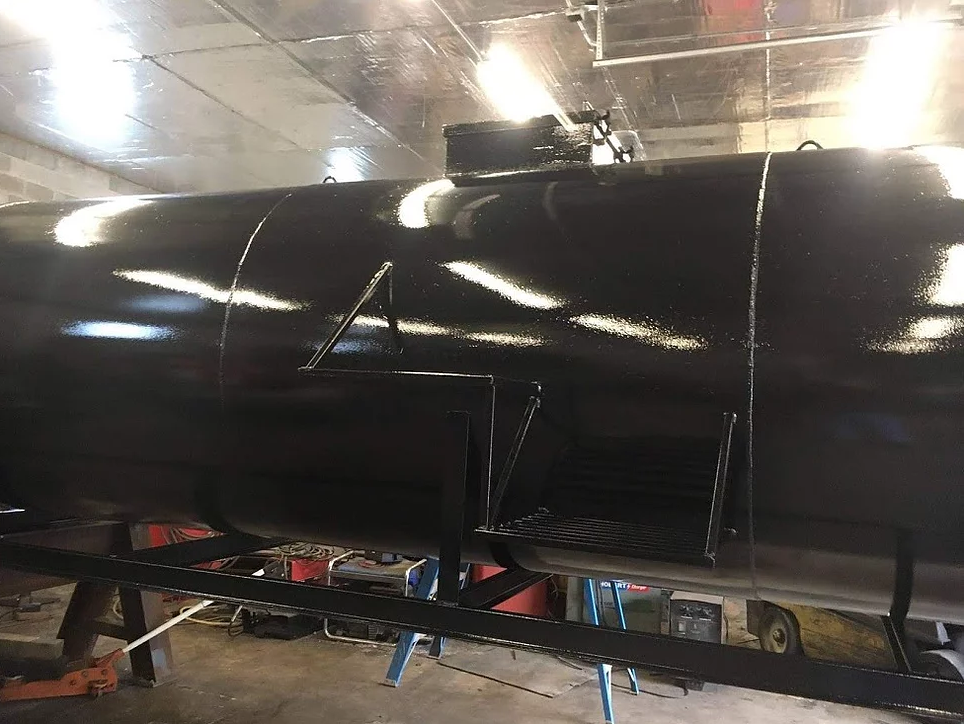
Tank Flushing / Winterization – Starting at $150.00.
*Additional charges may apply for removal of sealer.
Training – Star Seal of Ohio offers FREE training classes for all of our customers.
We help train you and your staff on product knowledge and proper use of equipment as well as sealcoating application techniques!

Product & Supplies Delivery
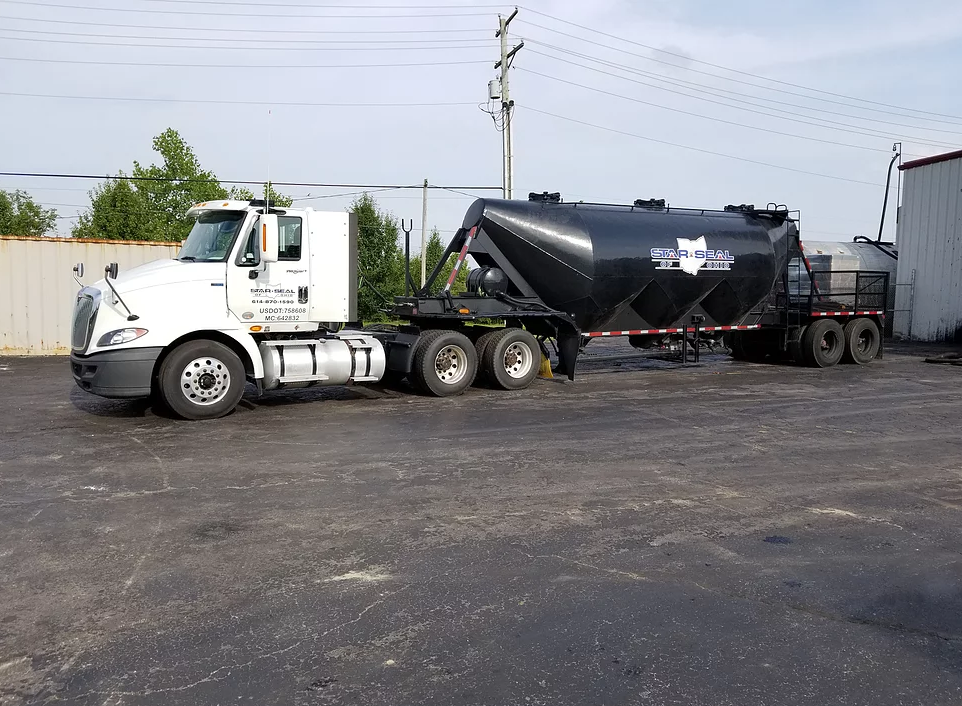
We can deliver as little as 500 gallons to your job site or as much as 4,500 gallons to fill your bulk tank.
We also offer drop tanks to your jobs site to save you money and time on your next project. Please call for pricing.

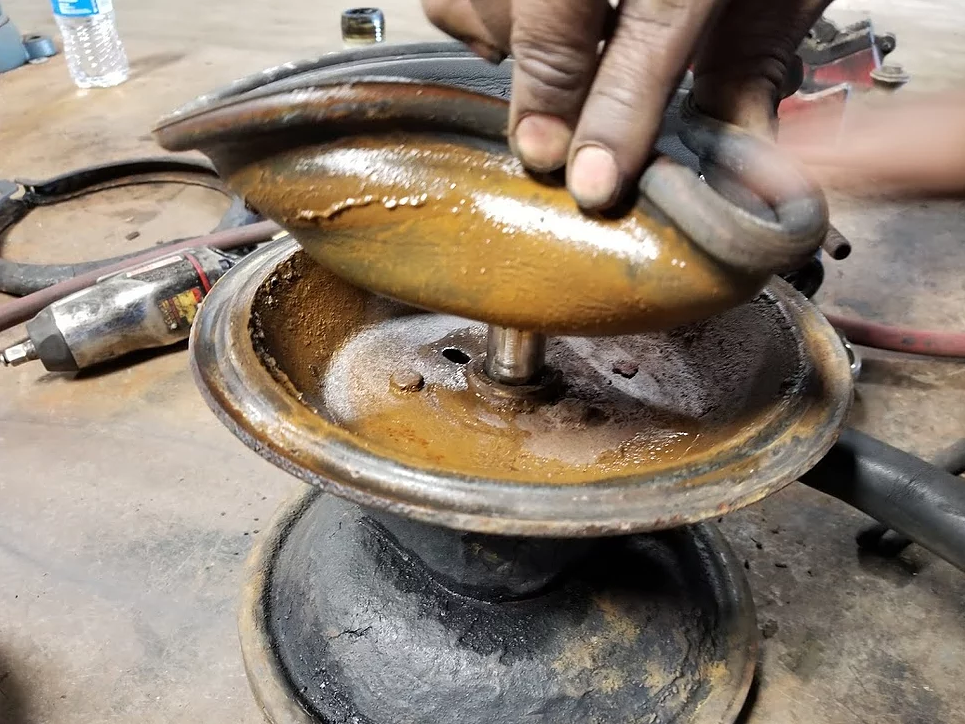
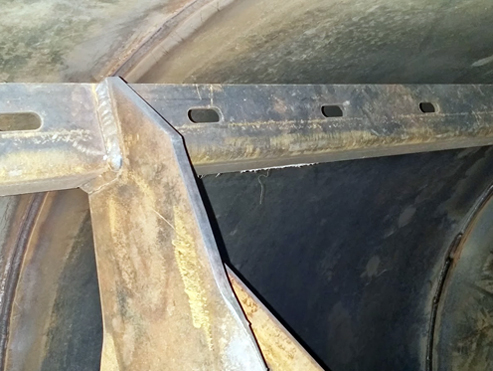
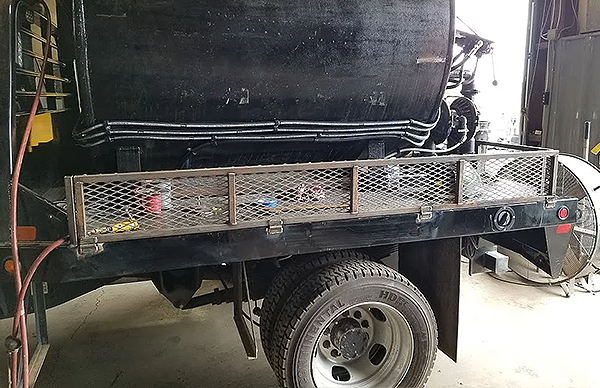
Fabrication/Welding – $75 per hour with a minimum of $50.
Our highly trained, skilled professionals will collaborate with you to execute and create anything from a simple welding repair to highly customized fabrication designs for trucks, trailers and more. Contact us today to tell us about your needs.
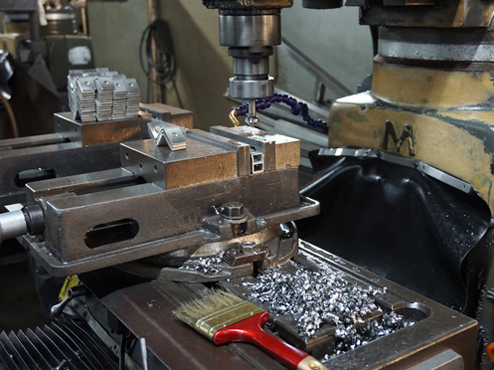
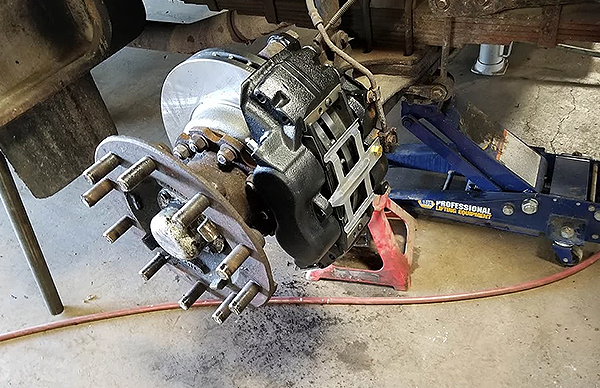
Mechanical Repairs – $75 per hour with a minimum of $50.
We work on all types of truck, trailer, small engines, and tank repairs as well as custom fabrication work.
Equipment Rental
Whether you've got a breakdown or need a specific piece of equipment to perform a job, we've got you covered!
We rent Bulk Tankers, Sealcoat Sprayers, Crack Filler Machines, Blowers and more!
Give us a call today for pricing and availability for your pavement maintenance equipment needs.
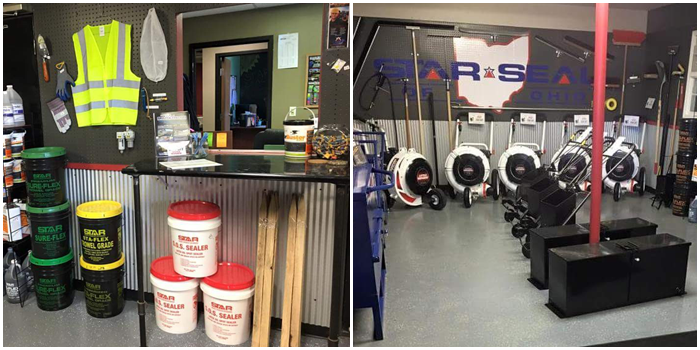
Equipment Distribution
In addition to all of the superior pavement maintenance and protective products manufactured by Star Seal, we
also carry and can provide our customers with new and used equipment manufactured by many of the best
companies in the pavement industry.
WE ARE PROUD DISTRIBUTORS OF PRODUCTS & EQUIPMENT FROM THE FOLLOWING MANUFACTURERS
